Oak Grain Showing Through Your Paint?
Oak Grain Showing Through Your Paint?
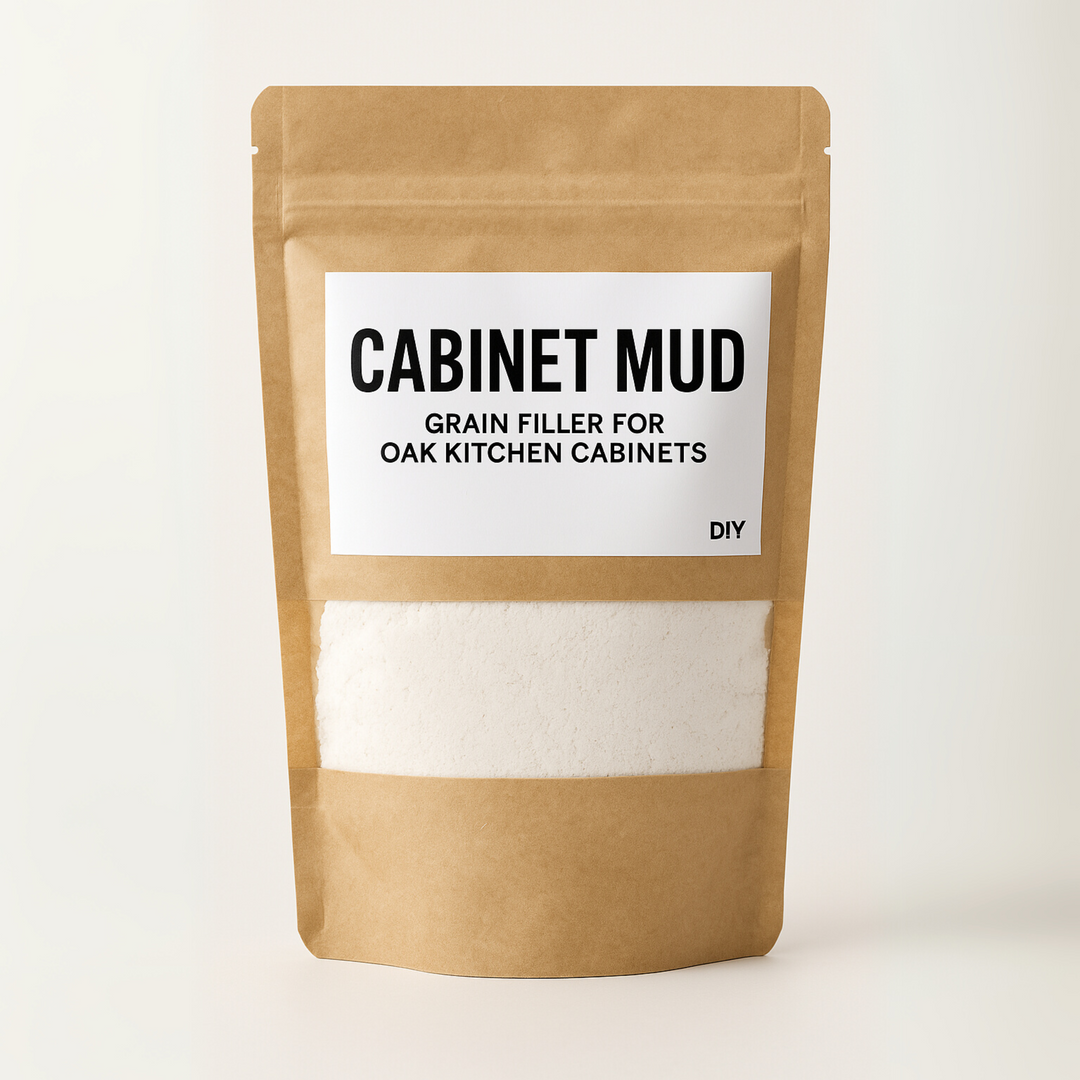
Cabinet Mud is a grain filler used to create smooth, paint-ready cabinets.